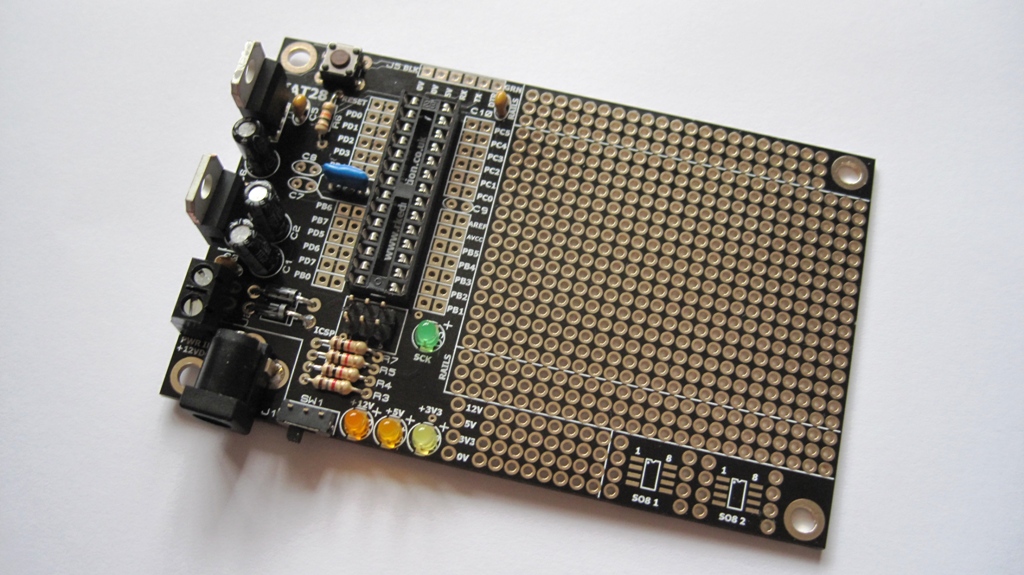
The RKAT28 is a development board from rkeducation that is aimed at the 28 pin Atmel devices such as the ATmega328p which was commonly used in Arduino boards, this means of course you can take the chip from the Arduino and put it on this development board. The board has the standard ISP connection (6 pin version) and also an Arduino connection in which you can connect the TX and RX lines and use your Arduino as an ISP as well.
Here is a picture of the board
There is a prototyping area on board which has horizontal and vertical rails as well as a set of power rails.
On board there is a 5v regulator and a 3.3v regulator, you can quite easily power this from a 9v / 12v power source. There are 3 LEDs on board for the various power voltages.
The board comes as a kit, this means you will need some basic soldering skills to assemble it but its an easy enough build and there are no really tricky parts to solder as they are all through hole components. The earlier picture shows what you assemble, I added headers for ports and also the power rails as well
To test the board out I decided to toggle PORTC on and off (high and low) and connect some leds.
Code example
Code example was written in MikroC Pro for AVR, later on we will be showing how to connect an Arduino and program using that and also burning a bootloader on the chip, in case you want to do that as well. Arduino IDE does simplify development greatly but this can come at a cost, again we’ll explain how later.
[codesyntax lang=”cpp”]
void main()
{
DDRC = 0xFF;     // set direction to be output

while(1)
{
PORTC = 0x00;
delay_ms(1000); // Wait for 1s
PORTC = 0xFF;
delay_ms(1000); // Wait for 1s
}
}
[/codesyntax]
Testing
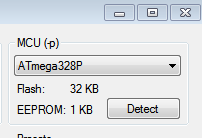
After compiling and building I connected a USBAsp to the ISP connector and used AVRDUDESS to first try and detect the device. In the screenshot below you can see the microcontroller was detected
Link
The kit is available from the following site at £7.99


